Operation Boomstick
Enemy forces have occupied Kelso Fields in central New Stirling and turned the farmland into an IED production and trafficking corridor while severing supply access for allied units. Delta Team is tasked with breaking the network by retaking supply-chain nodes, destroying the weapons cache, and capturing the leader known as BADGER.
Situation
Actionable intelligence confirms an enemy detachment has seized Kelso Fields and repurposed the farmland to support IED production, weapons trafficking, and interdiction of allied supply lines across central New Stirling.
Harrier IMINT indicates the road network is active with technicals and convoy movement. The mission is to fracture the network in sequence, rescue civilians where present, destroy the explosive stockpile, and capture BADGER before the enemy can break contact.
Execution
- Insert Depart Echo FOB by Black Hawk and conduct a HALO jump onto the designated insertion point.
- Recon Establish UAV coverage on touchdown, assess enemy positions, and begin the ground movement under Delta callsign.
- Mobility Stay off the road network where possible; Harrier reports multiple technicals and convoy traffic along hot routes.
- Strike Hit Alpha through Delta with speed and stealth to preserve surprise and keep BADGER fixed at the final site.
- Extract Move the HVT conscious to HLZ Romeo 3 and call Jackal 2-1, standing by on five mikes, for RTB extraction.
Priority Intel
HVT: BADGER at Delta objective.
BADGER can be roleplayed by any senior-value hostile on site, including an RTO, commander, bagman, or comparable enemy leadership figure tied to the Agronomy Center node.
Mission End State
Enemy comms are penetrated, civilians are recovered, the IED truck is destroyed at safe distance, BADGER is captured alive, and Delta extracts clean from HLZ Romeo 3.
Objectives
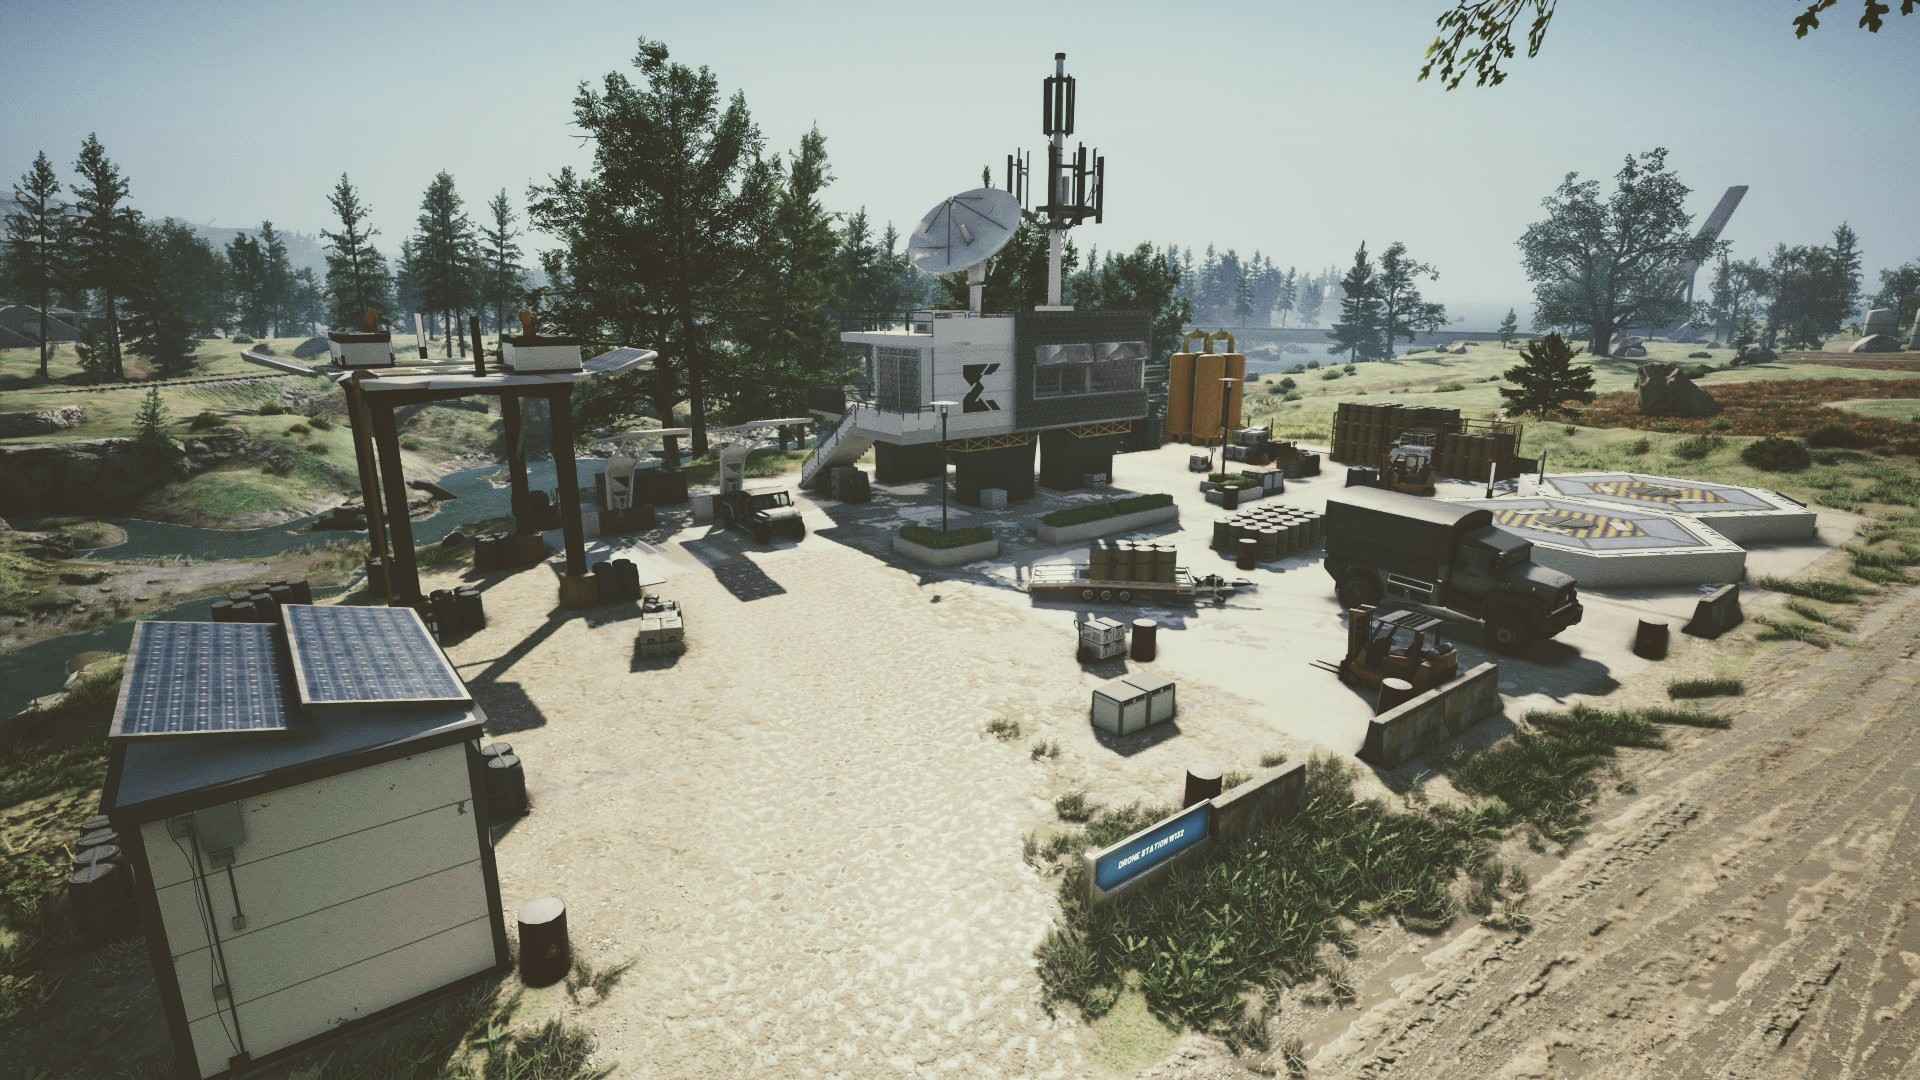
Drone Station W132
Secure the station and tap into enemy communications to track the imminent arrival of BADGER at the Delta objective.
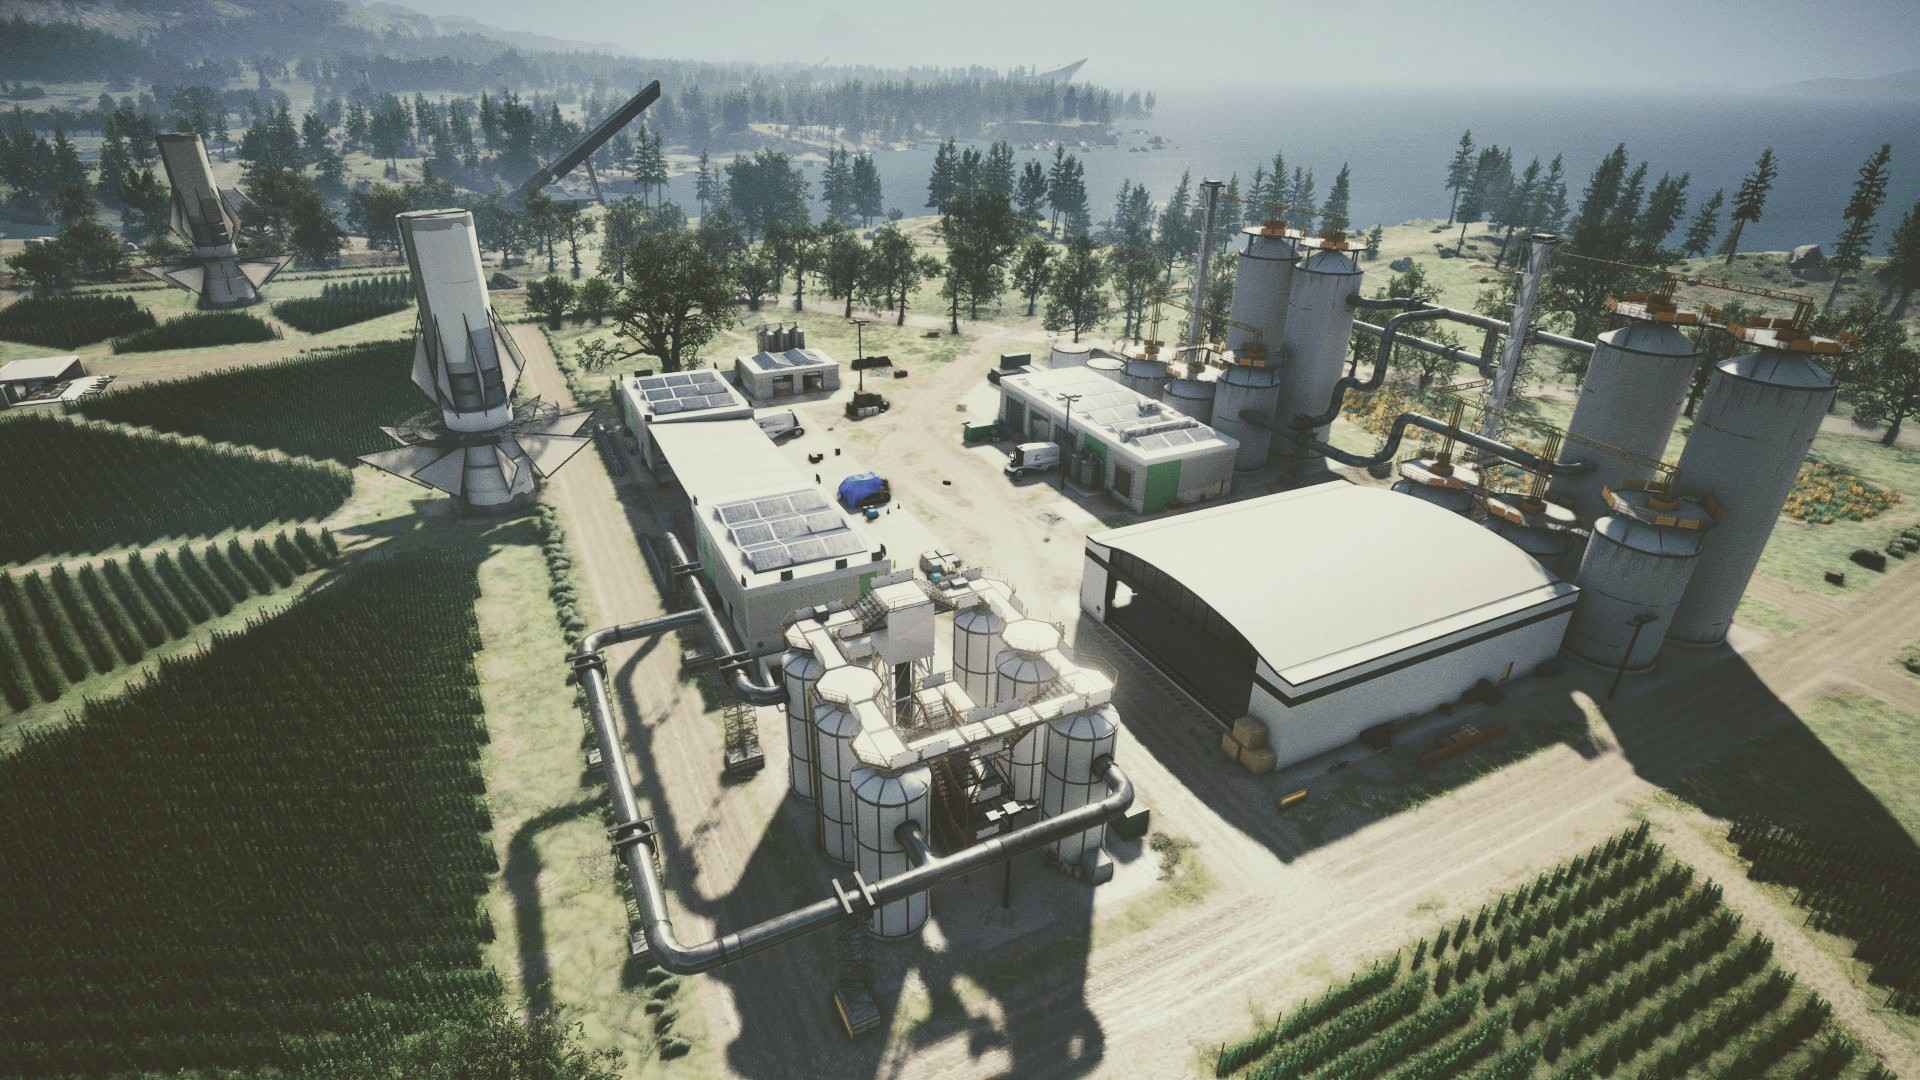
Mossburn Hopfield
Rescue all civilians under duress, secure the site, and sweep the warehouses for any additional intelligence.
Kelso Farm
Seize the supply truck carrying the IED and weapons cache, move it clear of the farm, and destroy it with a controlled C4 detonation.
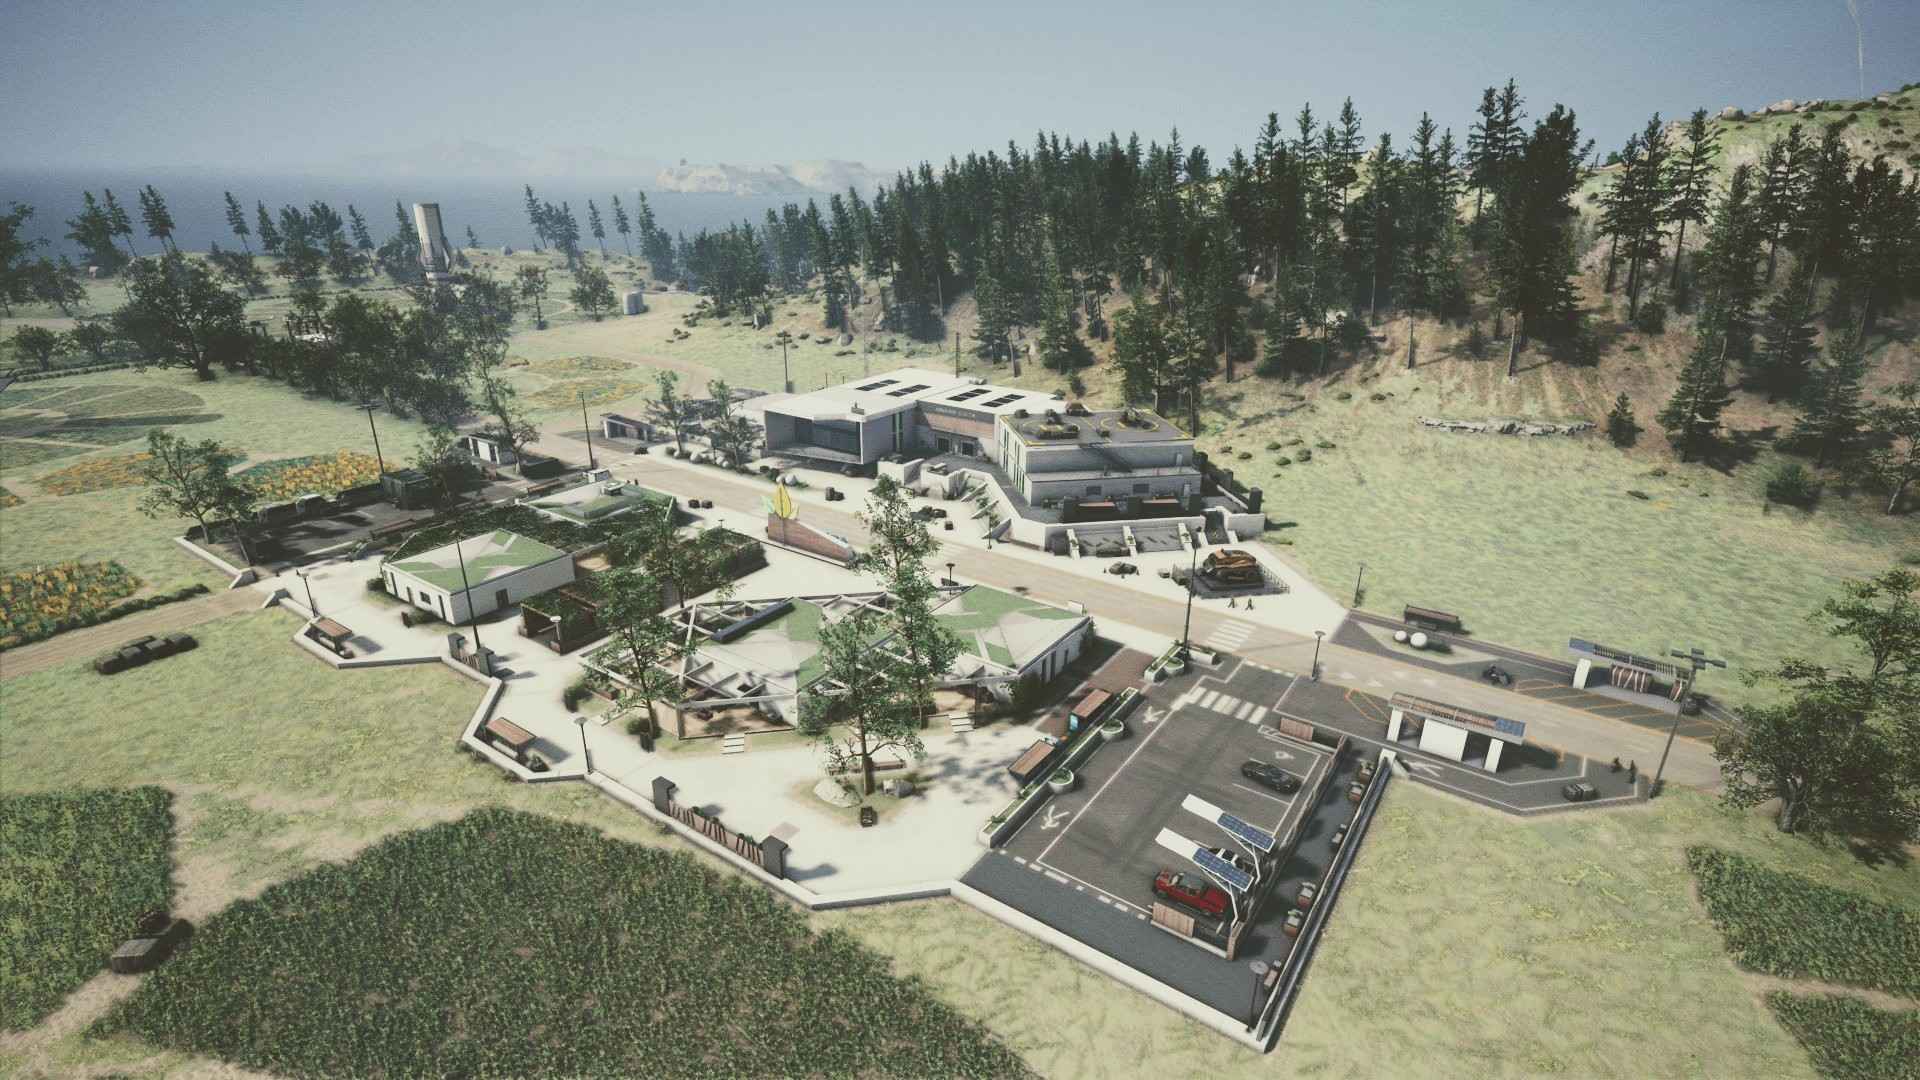
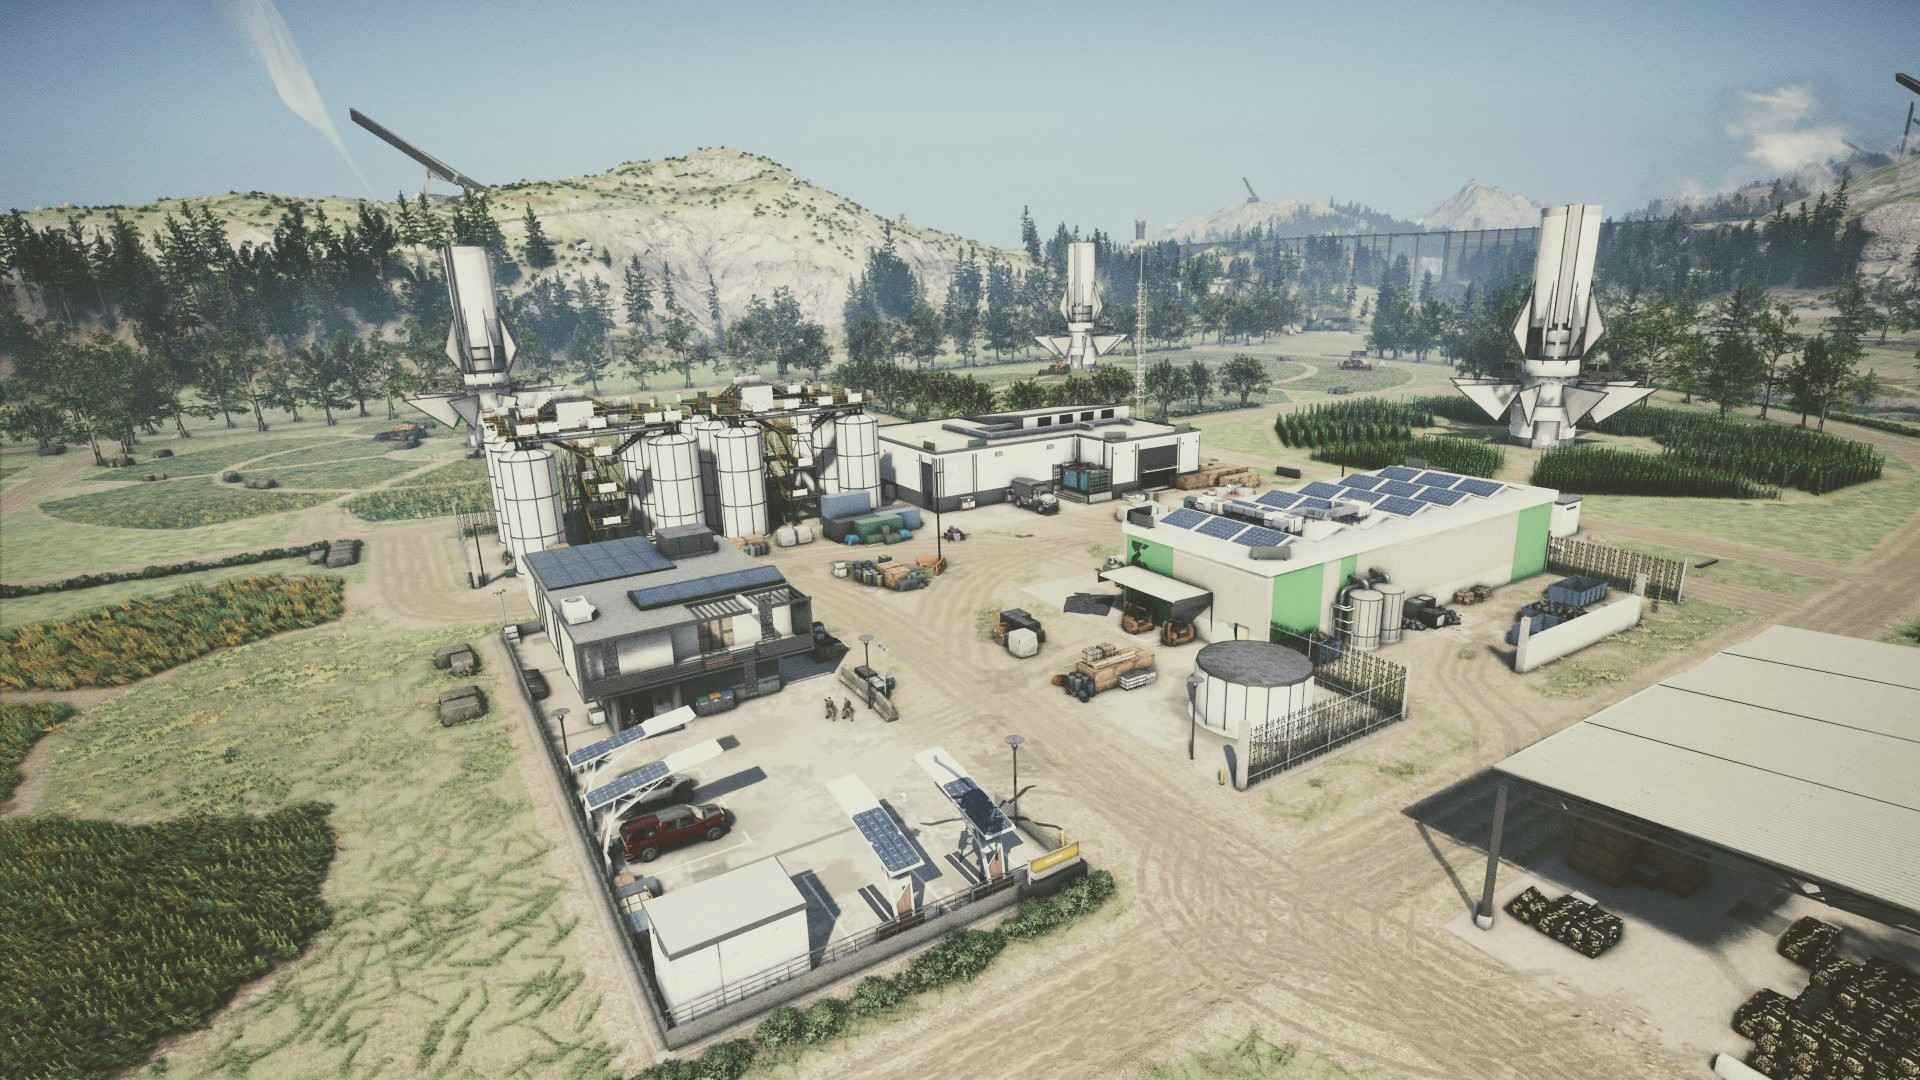
Agronomy Center
Confirm BADGER's presence, capture the target alive, and secure the site against enemy counteraction.

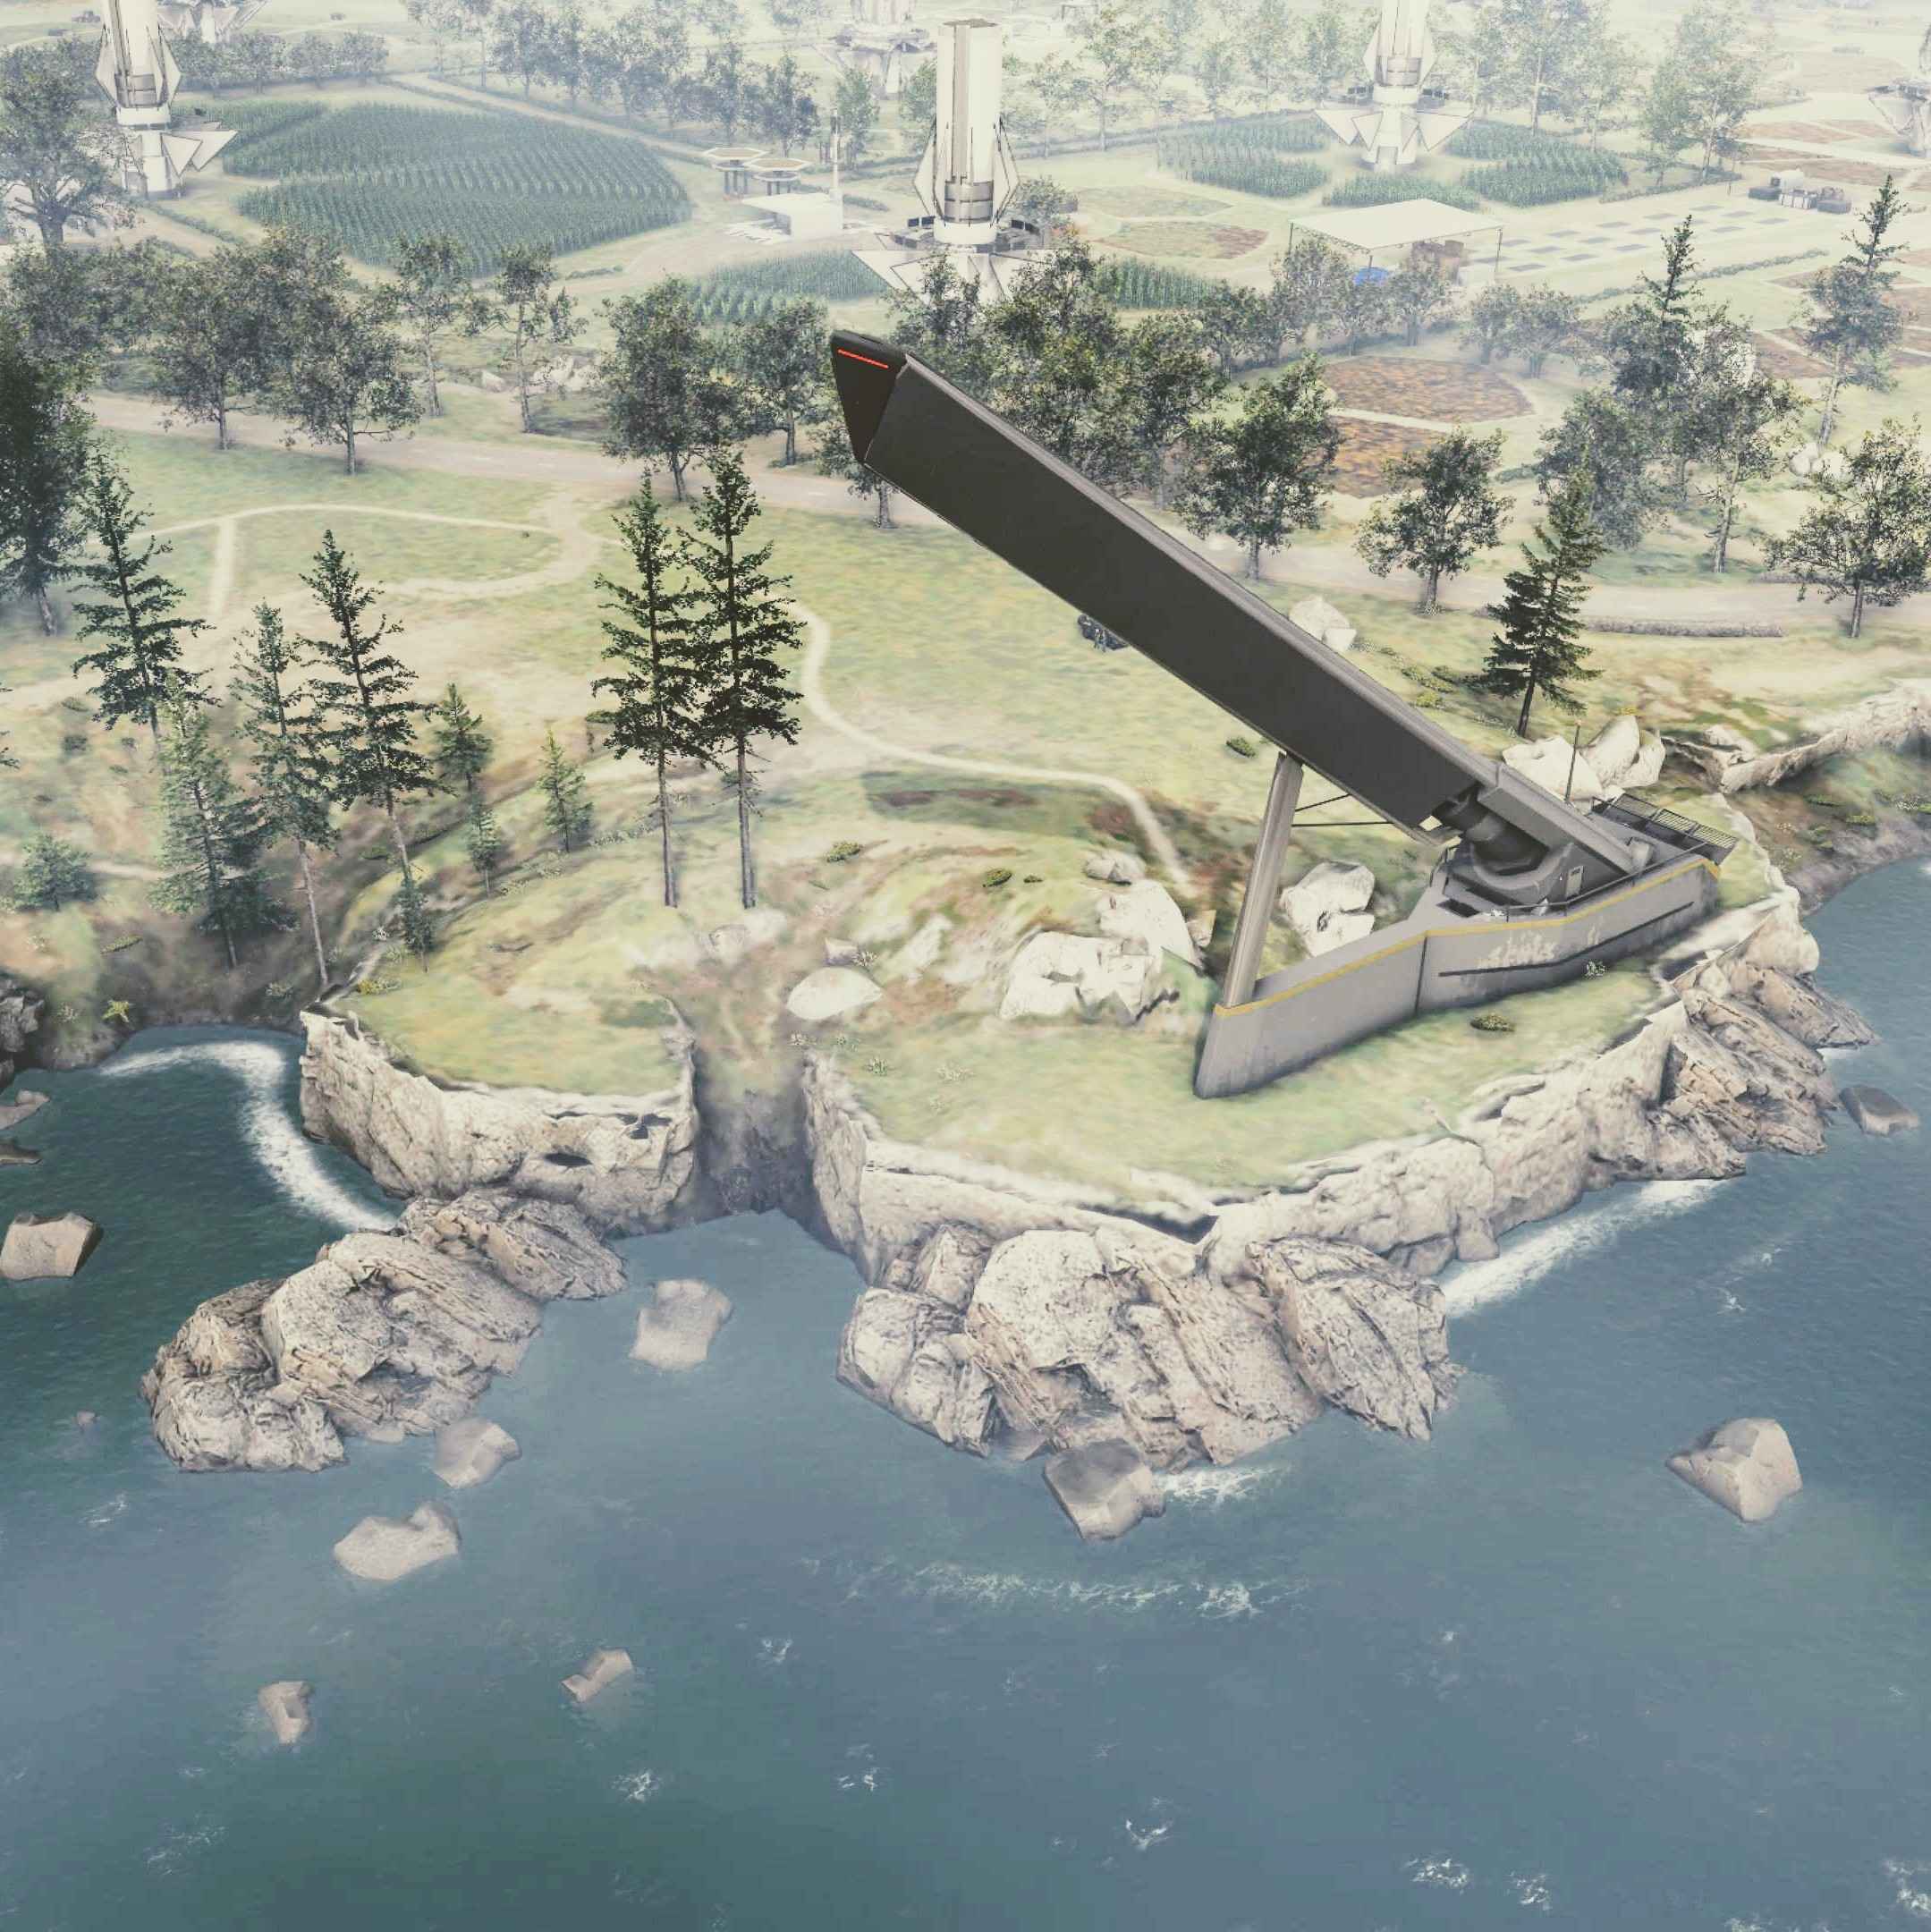
Area of Operations
AO reference showing the Alpha through Delta progression across Kelso Fields and the relationship between the farm nodes, BADGER site, and extraction corridor.