Operation Sirroco
SIGINT and HUMINT have fixed the location of SANDMAN, Sentinel's bomb-maker tied to recent attacks in Liberty. The team will move from FOB Bandit by RHIB, break a civilian roundup chain across three residential targets, exploit Fox 02 for fresh comms intelligence, and finish with a controlled capture at Liberty Transport Hub.
Situation
Building on the success of op-canopy, signal exploitation identified Ethan Reynolds, callsign SANDMAN, as Sentinel's explosives specialist. He is assessed as erratic, operationally valuable, and directly linked to bomb attacks on Auroan diplomats in Liberty.
Sentinel is also moving civilians tied to Skell Tech into northern work camps. Three residential sites require immediate intervention before the roundup completes, making the opening phase both a rescue action and a pressure sweep designed to break enemy tempo before the HVT hit.
Execution
- Phase 1 Launch from FOB Bandit with RHIB insertion to the island IP south of Alpha. Black QRF or combat diver kits are acceptable as long as the approach stays controlled and quiet.
- Phase 2 Sweep the residential targets and Fox 02 in sequence, prevent abductions, eliminate hostile elements, and pull supplemental comms intelligence on Liberty Transport Hub.
- Phase 3 Isolate SANDMAN without gunfire near the HVT, disable the S-VEST through EOD handling, secure the hub, conduct SSE, and exfiltrate with the prisoner.
Priority Intel
HUMINT confirms SANDMAN wears a concealed S-VEST when outside the base. Firearms discharge near or on the HVT is prohibited. Capture must be deliberate, close, and controlled to avoid a detonation trigger.
Civilian Focus
Alpha, Charlie, and Delta are rescue-led sweeps. Kill speed matters less than stopping Sentinel from lifting civilians off-site. Clear armed resistance fast and stabilize the scene for follow-on recovery.
Mission End State
Fox 02 exploited, Liberty Transport Hub searched, HVT secured alive, explosive belt rendered safe, and all collected intel routed back to FOB Bandit for immediate follow-on analysis.
Objectives
Jane Addams Residences
Secure the block, eliminate hostile elements, and prevent civilians from being abducted before Sentinel can move them north.
Control Station Fox 02
Clear the station and connect to the enemy comms net to pull supplementary intelligence on the HVT and Liberty Transport Hub activity.
Benjamin Franklin Residences
Conduct a second residential sweep, neutralize armed resistance, and assist any civilians still under immediate threat.
Richard Cobden Residences
Finish the residential clearance, secure civilians, and interrogate the local enemy leader on-site before leaving him for the recovery team.
Liberty Transport Hub
Locate SANDMAN first, isolate him without gunfire, perform EOD handling on the vest after capture, then secure the hub and run SSE for planned-attack intelligence before exfiltration.
Support References
FOB Bandit RHIB
Launch reference for the South Cape Station departure point and the maritime staging setup used to start the mission at sundown.

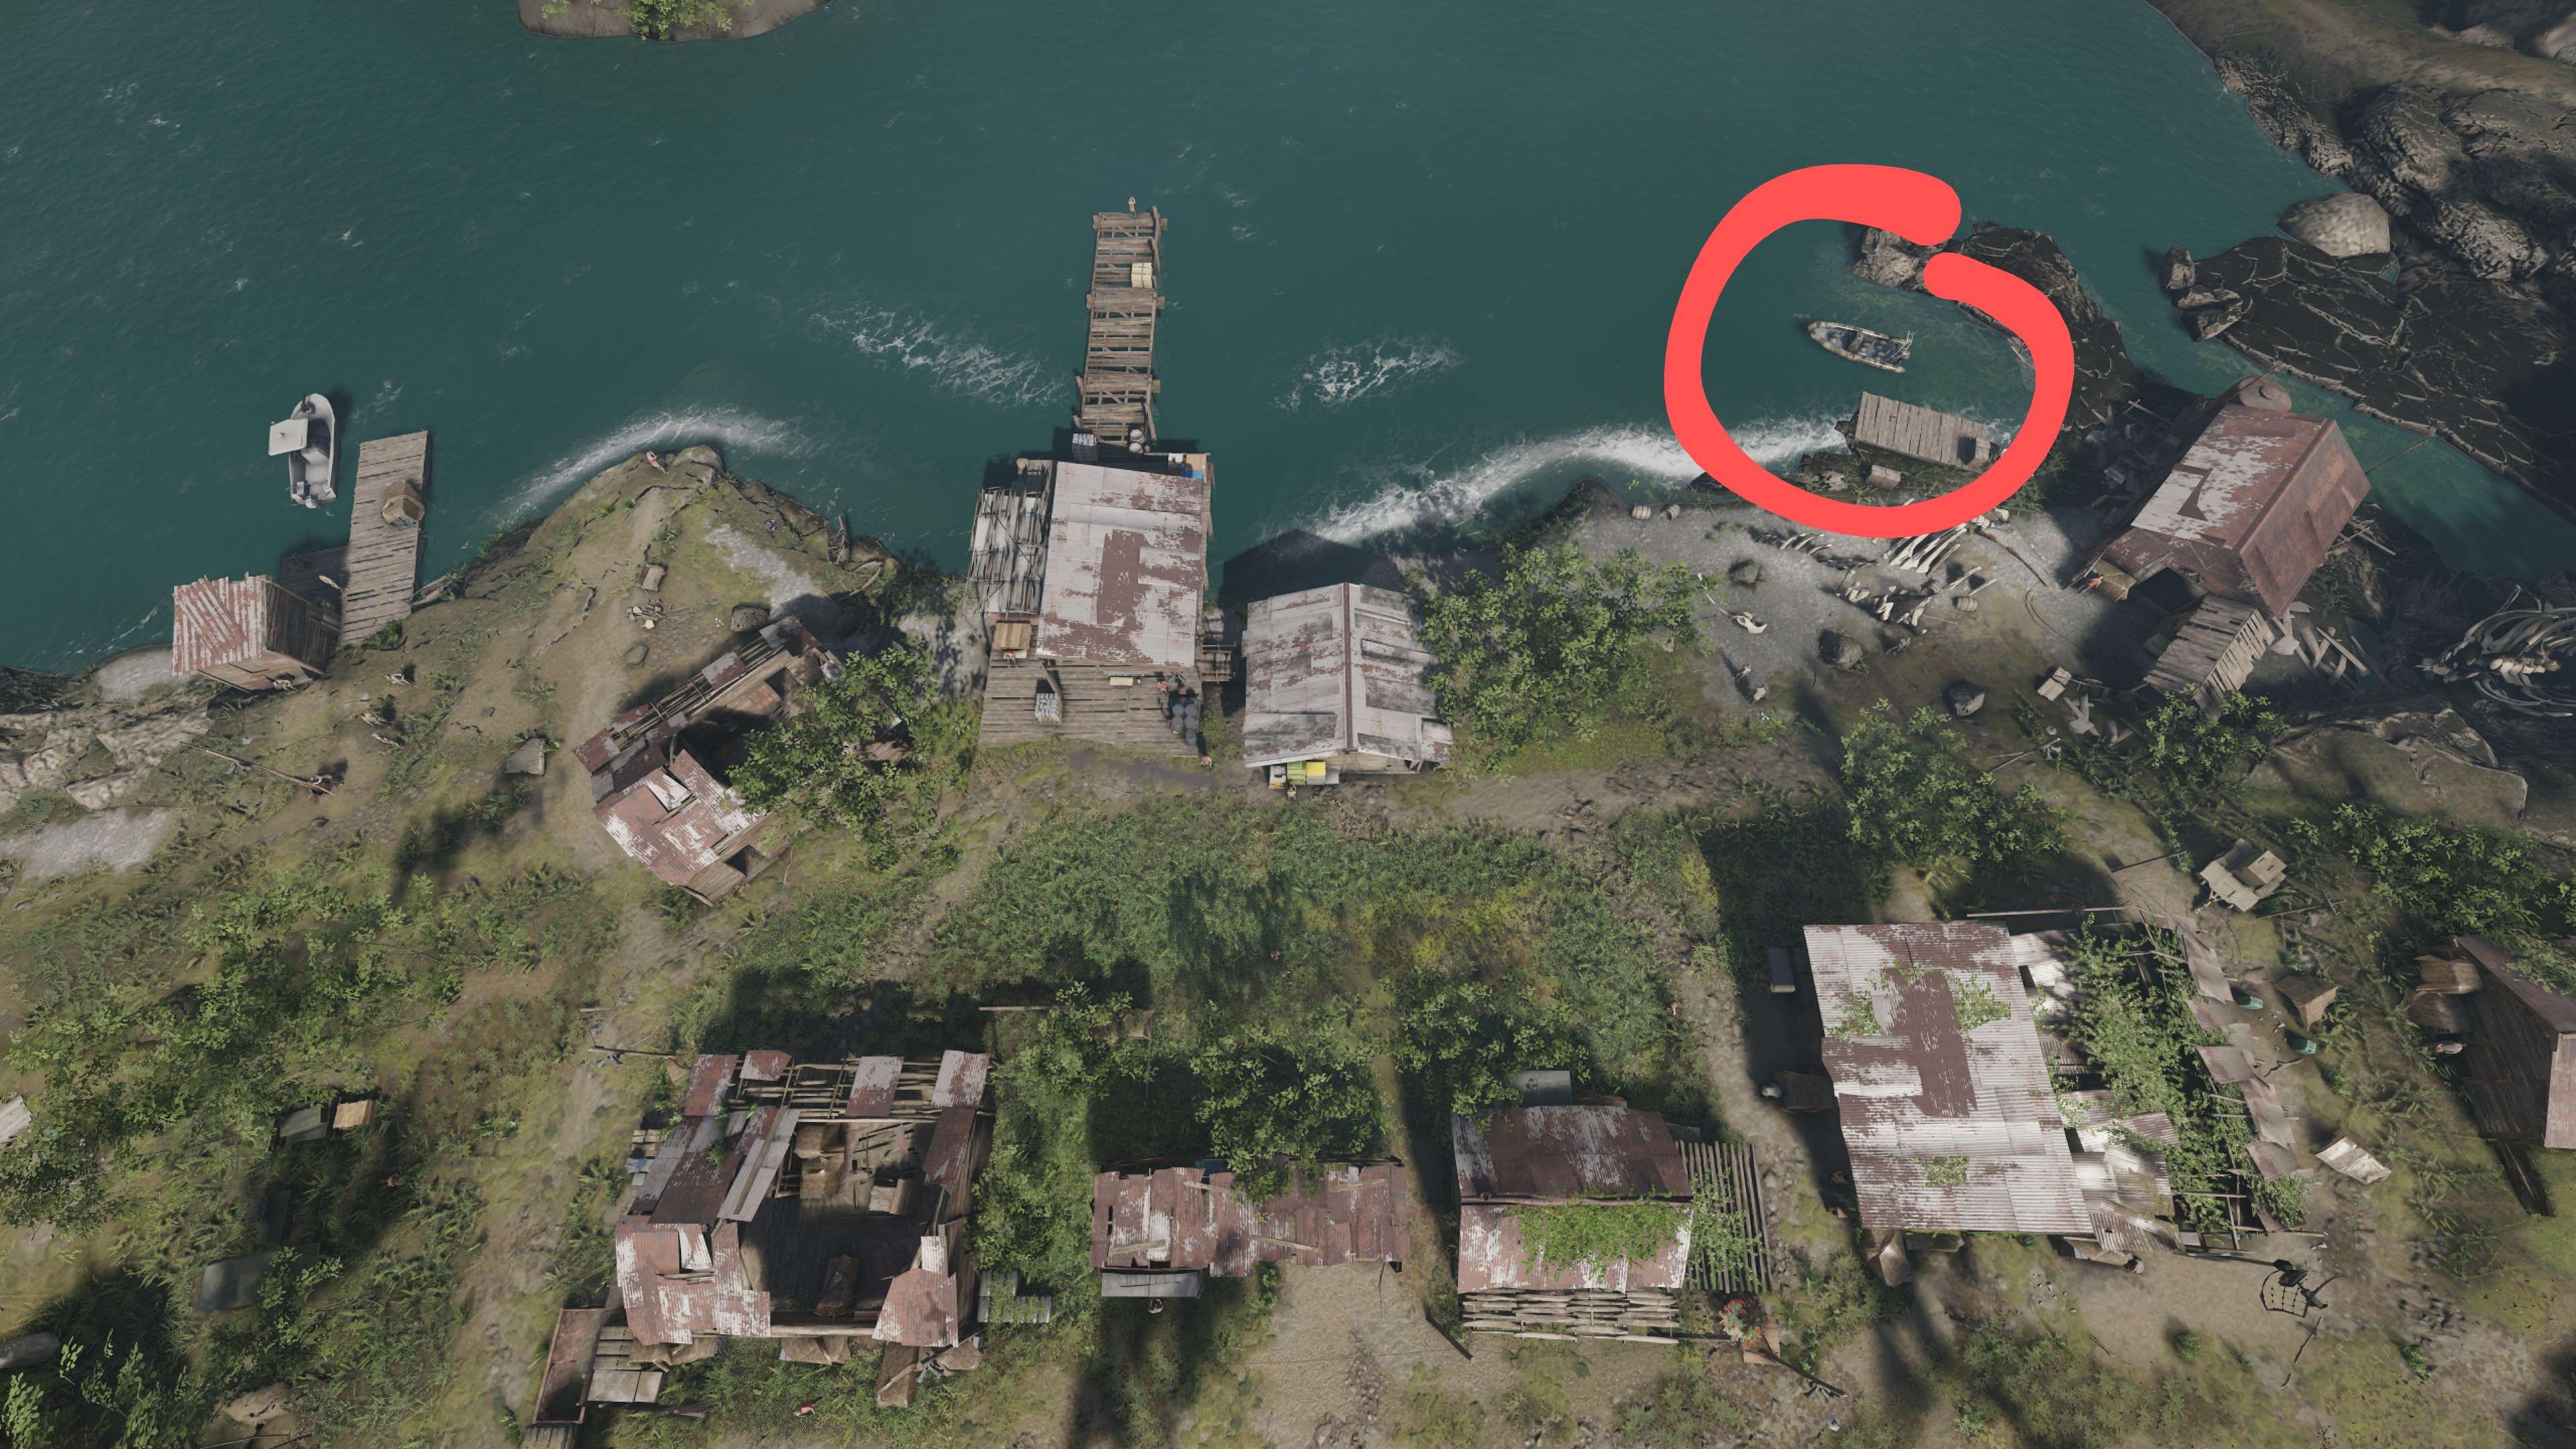
Island Infiltration Point
Visual reference for the island IP south of Alpha, used to stage the initial dismount and start the residential sweep sequence.

Tacmap Rundown
Route overview for Alpha through Echo, showing the southern island insertion, inner-area sweep path, Fox 02 exploitation, and the final Liberty Transport Hub approach.