Operation Dolomite
A white-uniform strike element will move from Erewhon HQ into the Mount Hodgson area to break up a rare-earth extraction grab linked to Sentinel's drone-production pipeline. The mission starts with a bridge ambush on the primary HVT, then secures Checkpoint Tiger Echo, seizes a supply truck at Drone Station W041, captures the bagman alive at Silent Valley Mine, and delivers the stolen load to Site TANGO NINER before extraction and interrogation turnover.
Situation
Command has received credible intelligence that two high-value targets are set to meet at Silent Valley Mine. The broader purpose of that meeting appears tied to Sentinel's attempt to seize rare-earth extraction needed for advanced drone production and to feed a clandestine arms-trade network. The operational window is narrow, with the primary HVT marked for elimination and the secondary target, described as the bagman, slated for live capture and interrogation.
At the same time, a critical shipment of weapons and supplies is moving through Drone Station W041. Capturing that cargo is important for allied rebels who are already under severe supply pressure. The mission therefore blends ambush, site exploitation, cargo seizure, and live HVT recovery in a single sweep.
Execution
The team departs Erewhon in white uniforms and establishes an ambush at the bridge, expecting the primary HVT to transit through the area. If the vehicle does not appear after a reasonable hold, the force will assume the primary target is already at the mine meeting the bagman and continue the mission, ensuring only the chosen target is neutralized while the bagman remains unharmed for capture.
- Phase 1Recon the bridge, establish the ambush, and eliminate the primary HVT during transit if the opportunity appears.
- Phase 2Secure Checkpoint Tiger Echo and collect any usable intelligence on local movements or mine activity.
- Phase 3Take Drone Station W041, steal the on-site truck, and move in convoy toward Silent Valley Mine.
- Phase 4Capture the bagman alive at the mine, load any additional supplies, deliver the truck to Site TANGO NINER, radio JAGUAR for pickup, then extract and return with the bagman for interrogation.
Ambush Window
The bridge kill remains the cleanest way to reduce overall kinetic exposure. If no vehicle appears from the tunnel or checkpoint corridor after the hold, the team should continue and treat the mine meeting itself as the decisive engagement point.
Capture Rule
The bagman is the interrogation target and must remain alive. If the mission shifts from bridge ambush to mine assault, the team should neutralize only the selected primary target and preserve the bagman for exploitation.
Rebel Support
The supply truck and any additional cargo collected at Drone Station W041 and Silent Valley Mine are intended for allied rebels facing critical shortages, making the truck-delivery phase operationally important rather than optional.
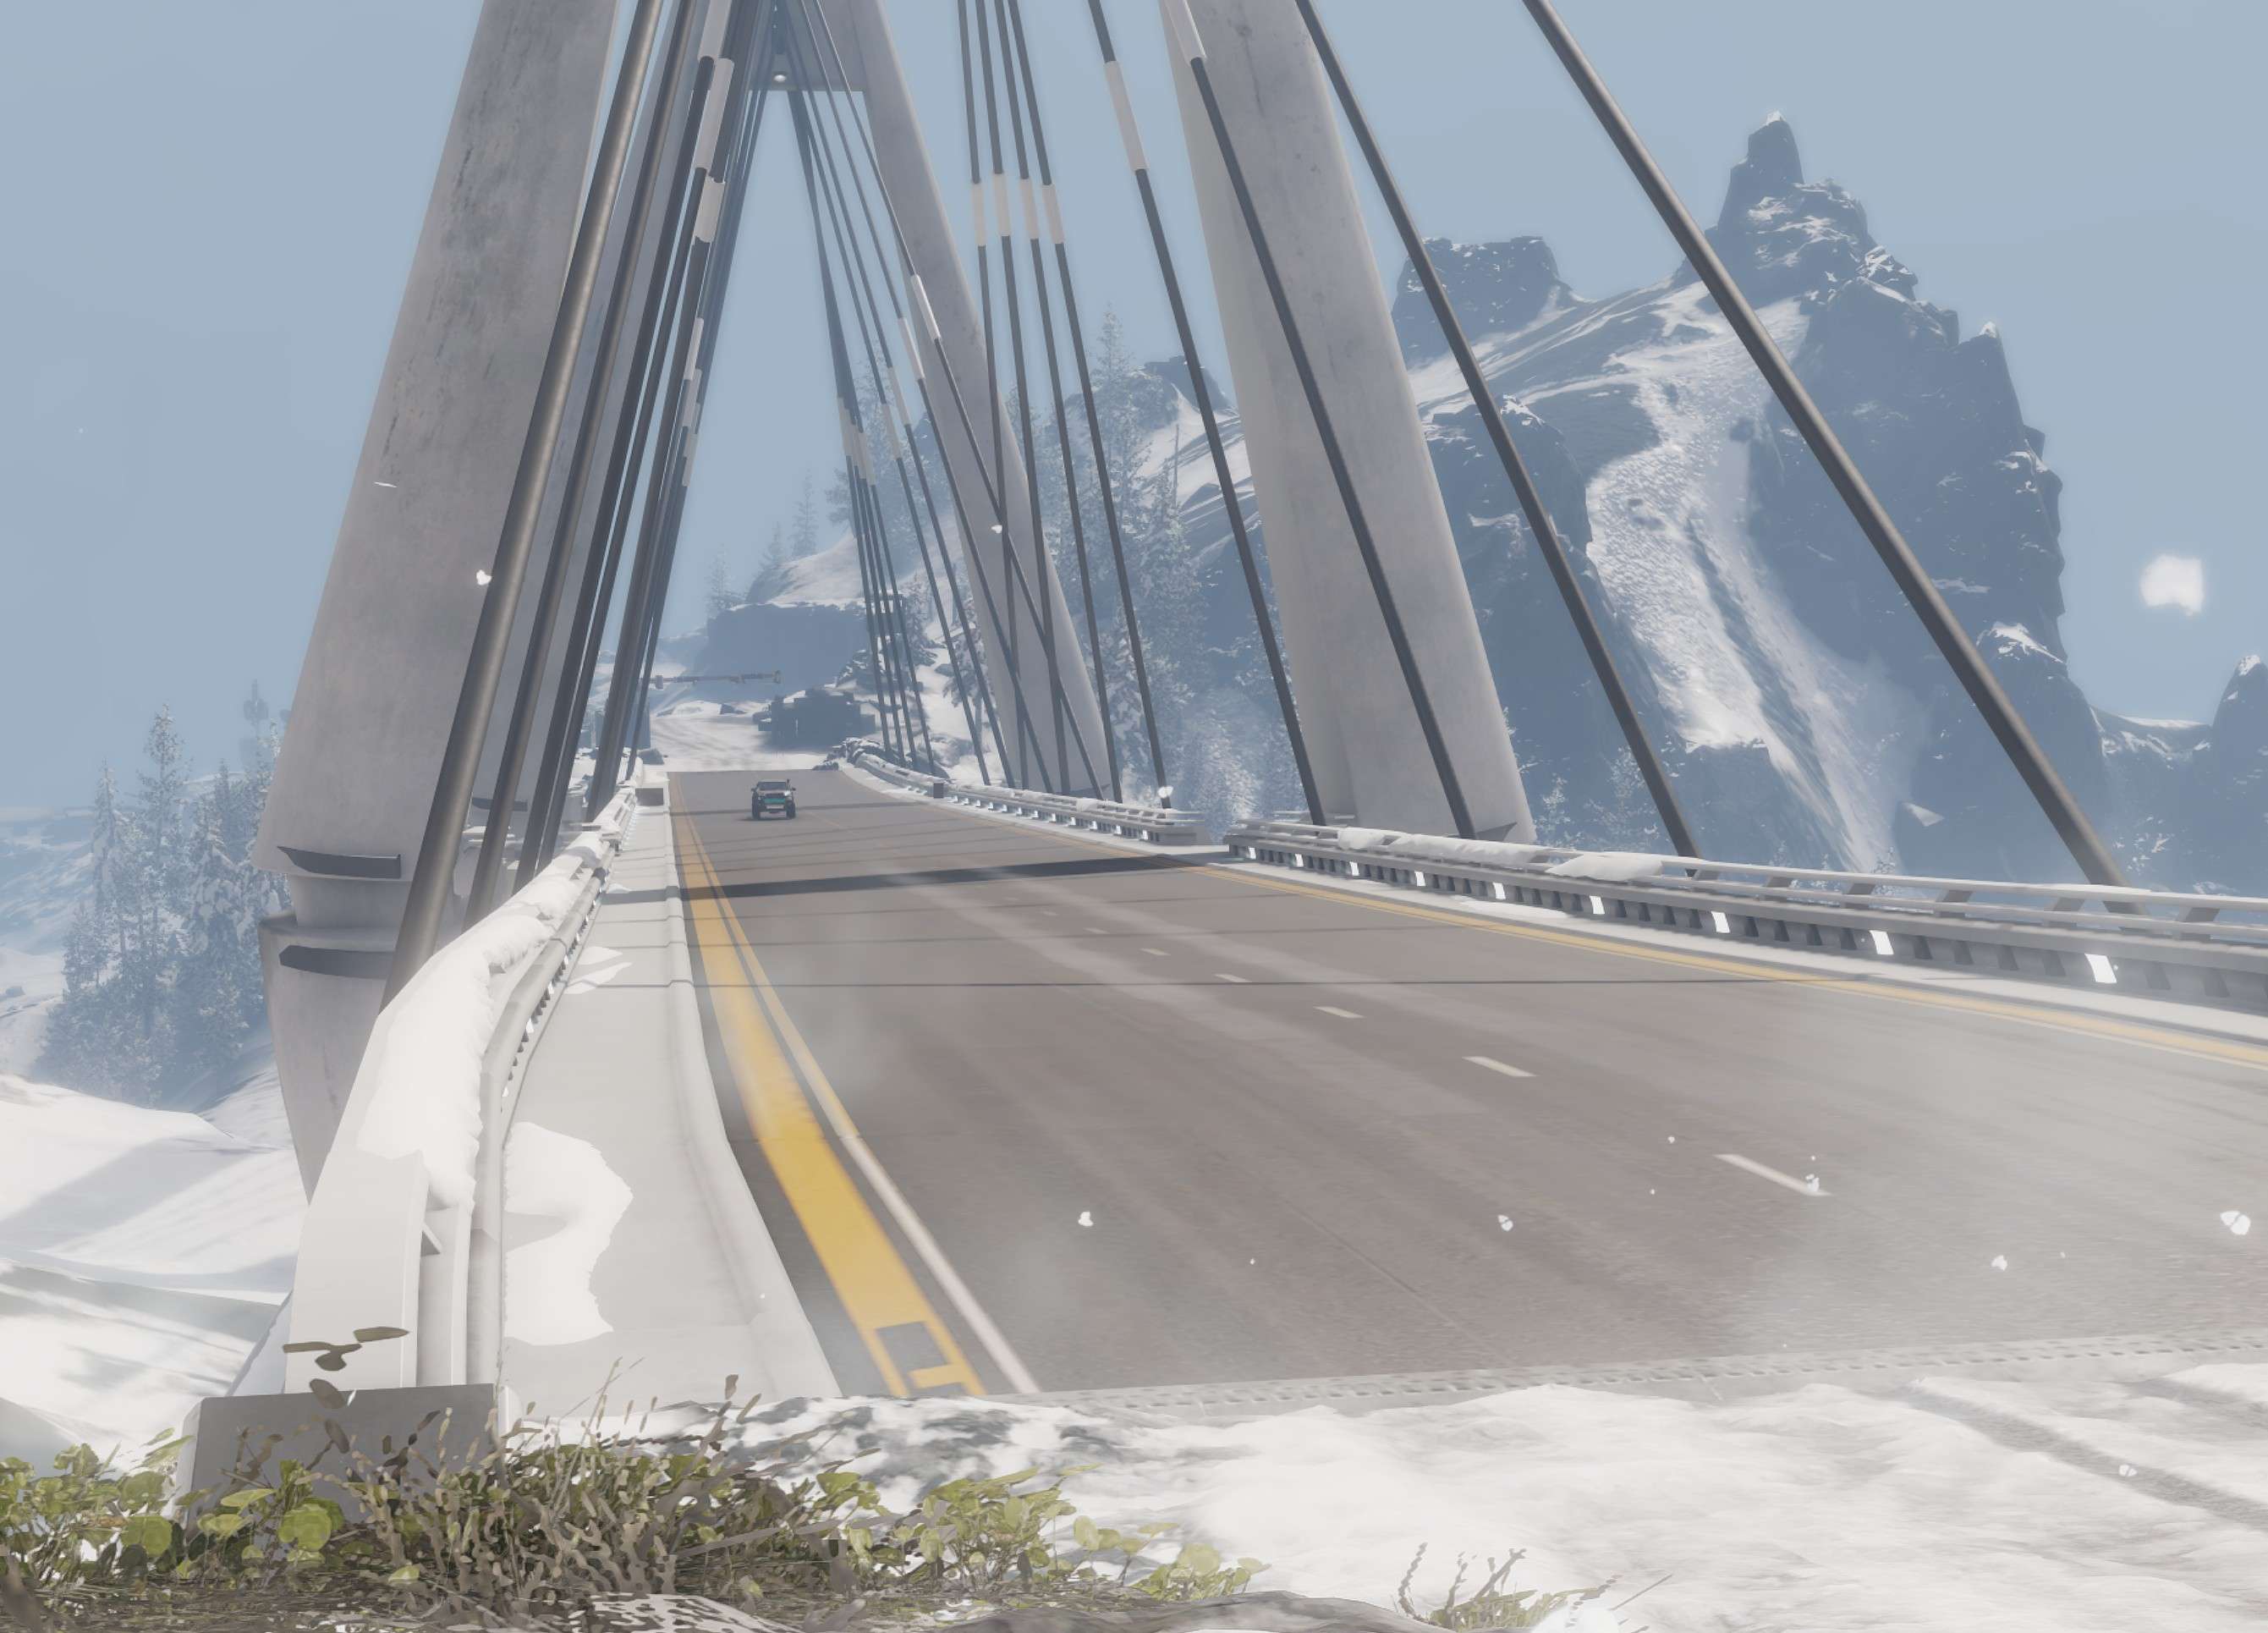
Bridge Ambush
Set the ambush on the bridge and eliminate the primary HVT during his transit if he appears. If the transit window collapses, carry that kill requirement forward into the Silent Valley Mine meeting.
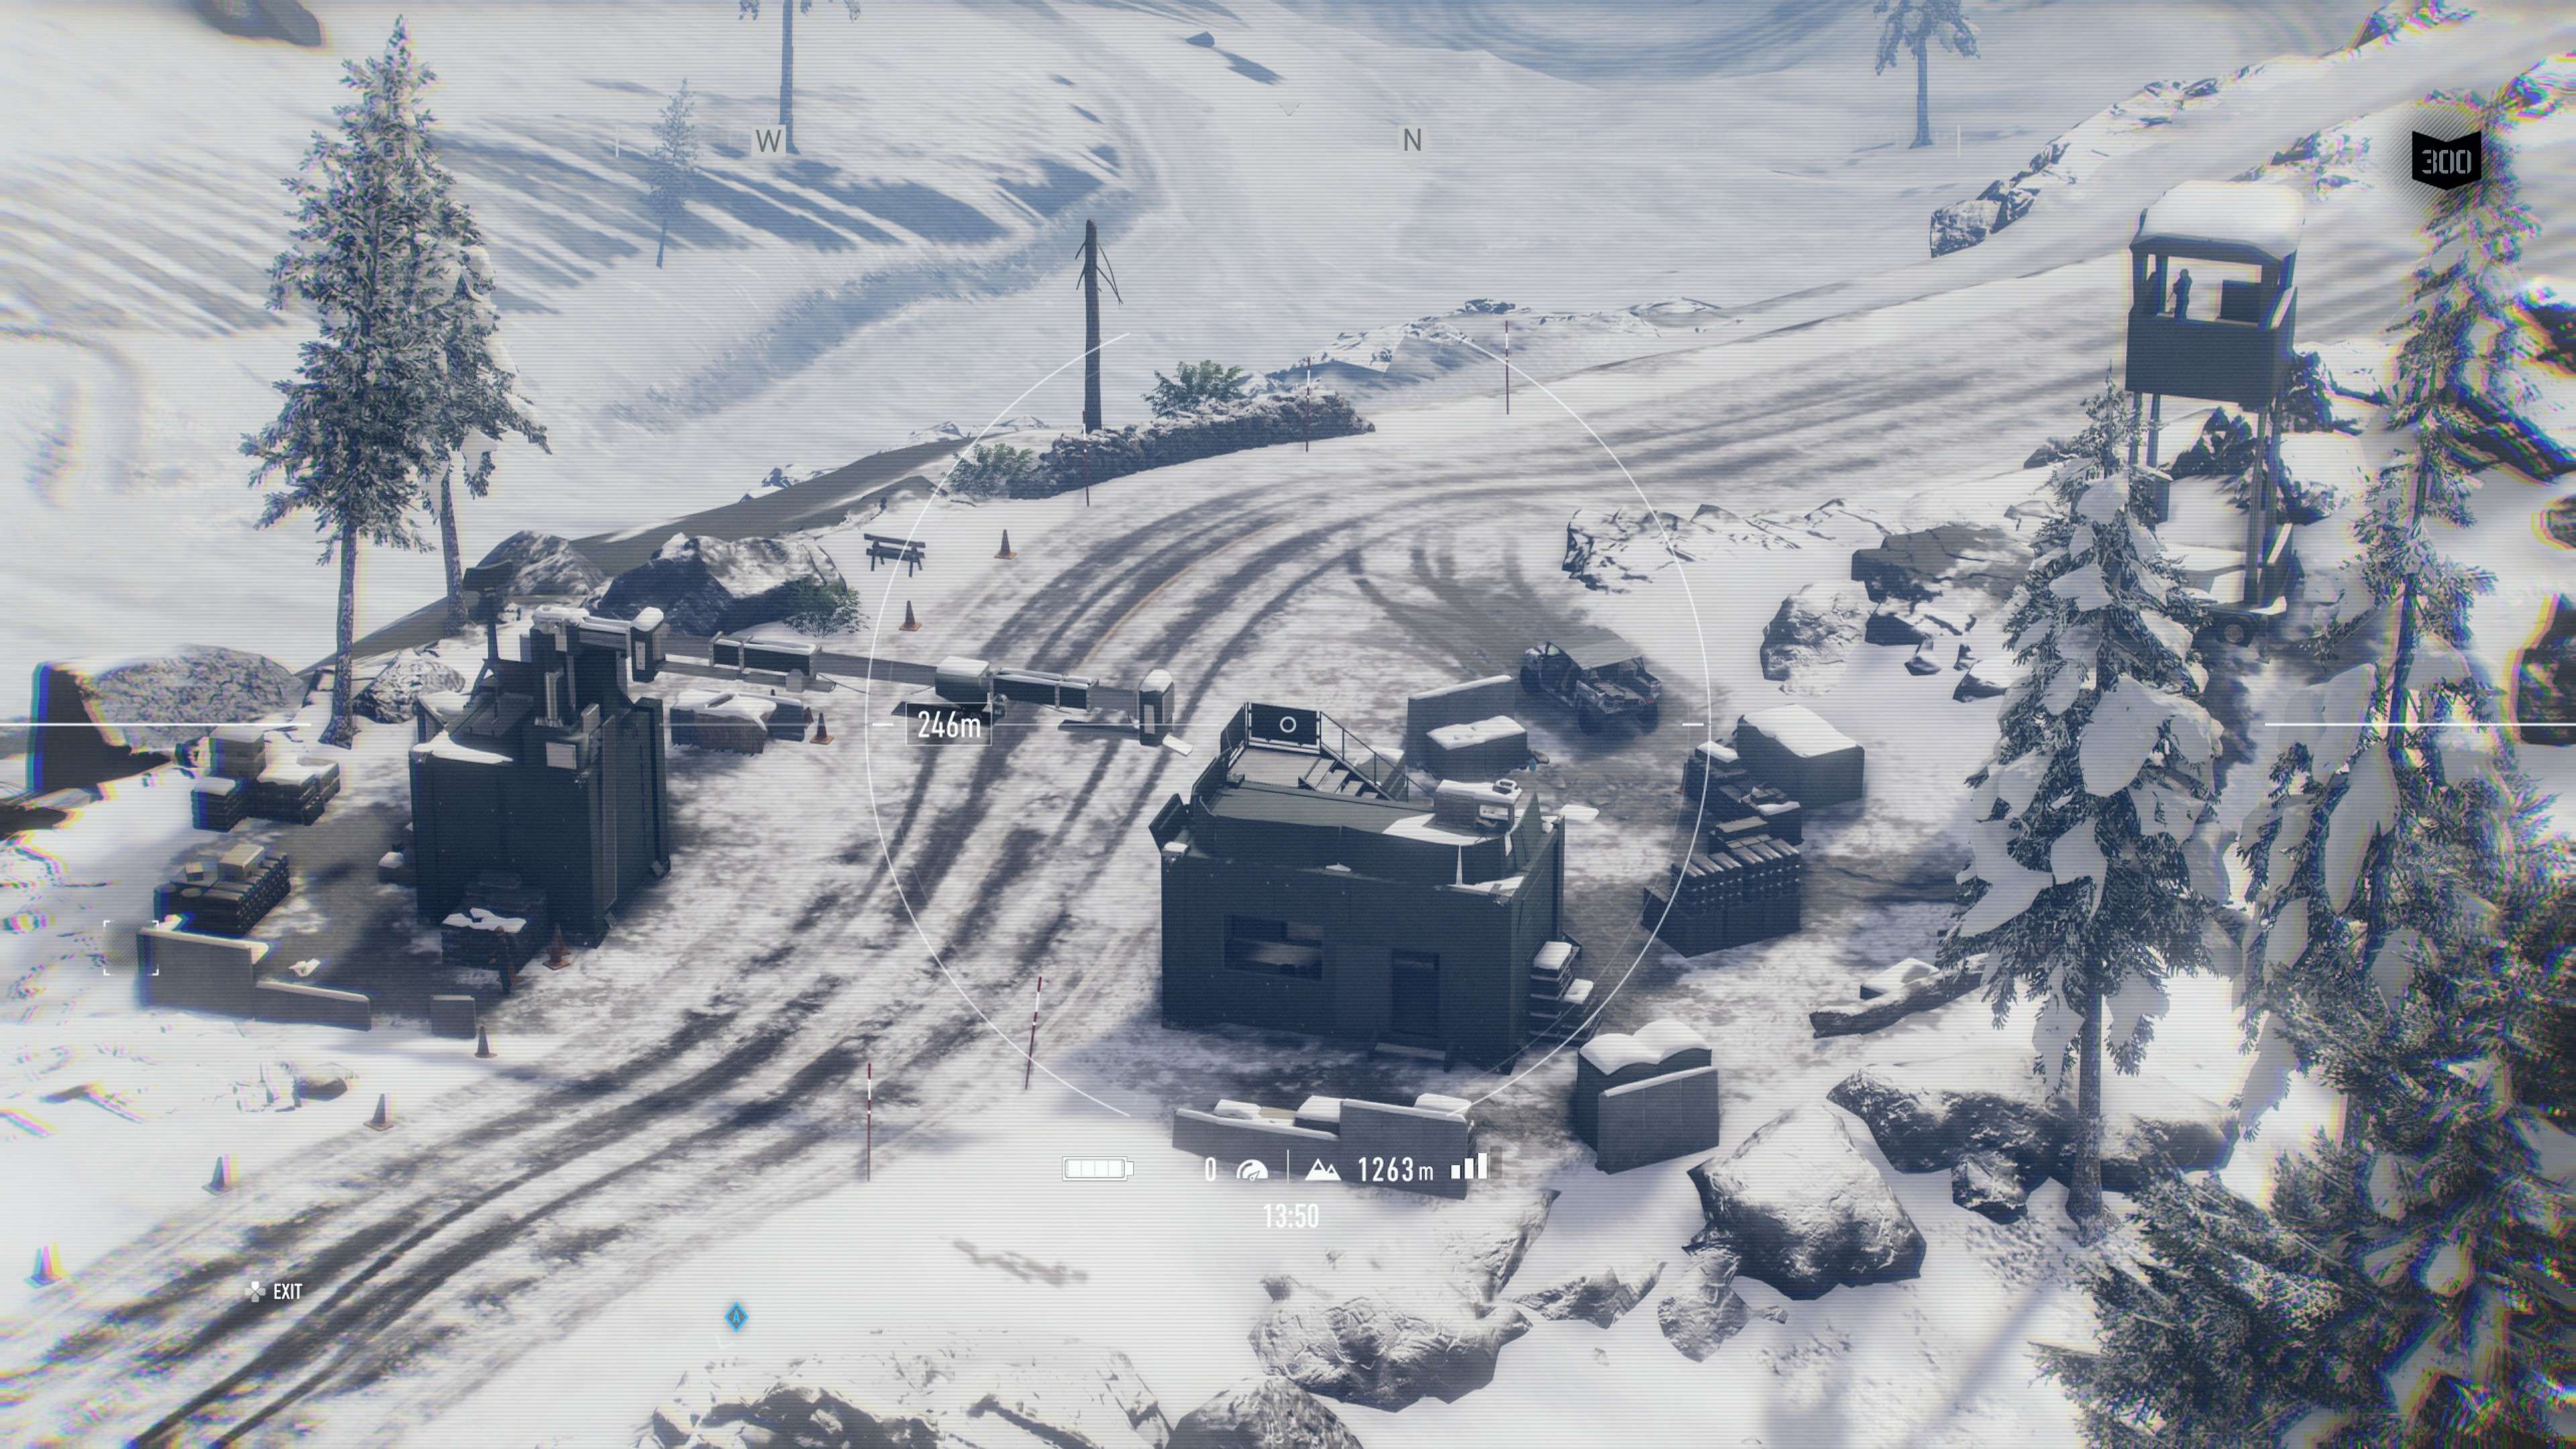
Checkpoint Tiger Echo
Secure the checkpoint and collect all available intelligence that clarifies Sentinel's movements, mine access, and supply routing in the sector.
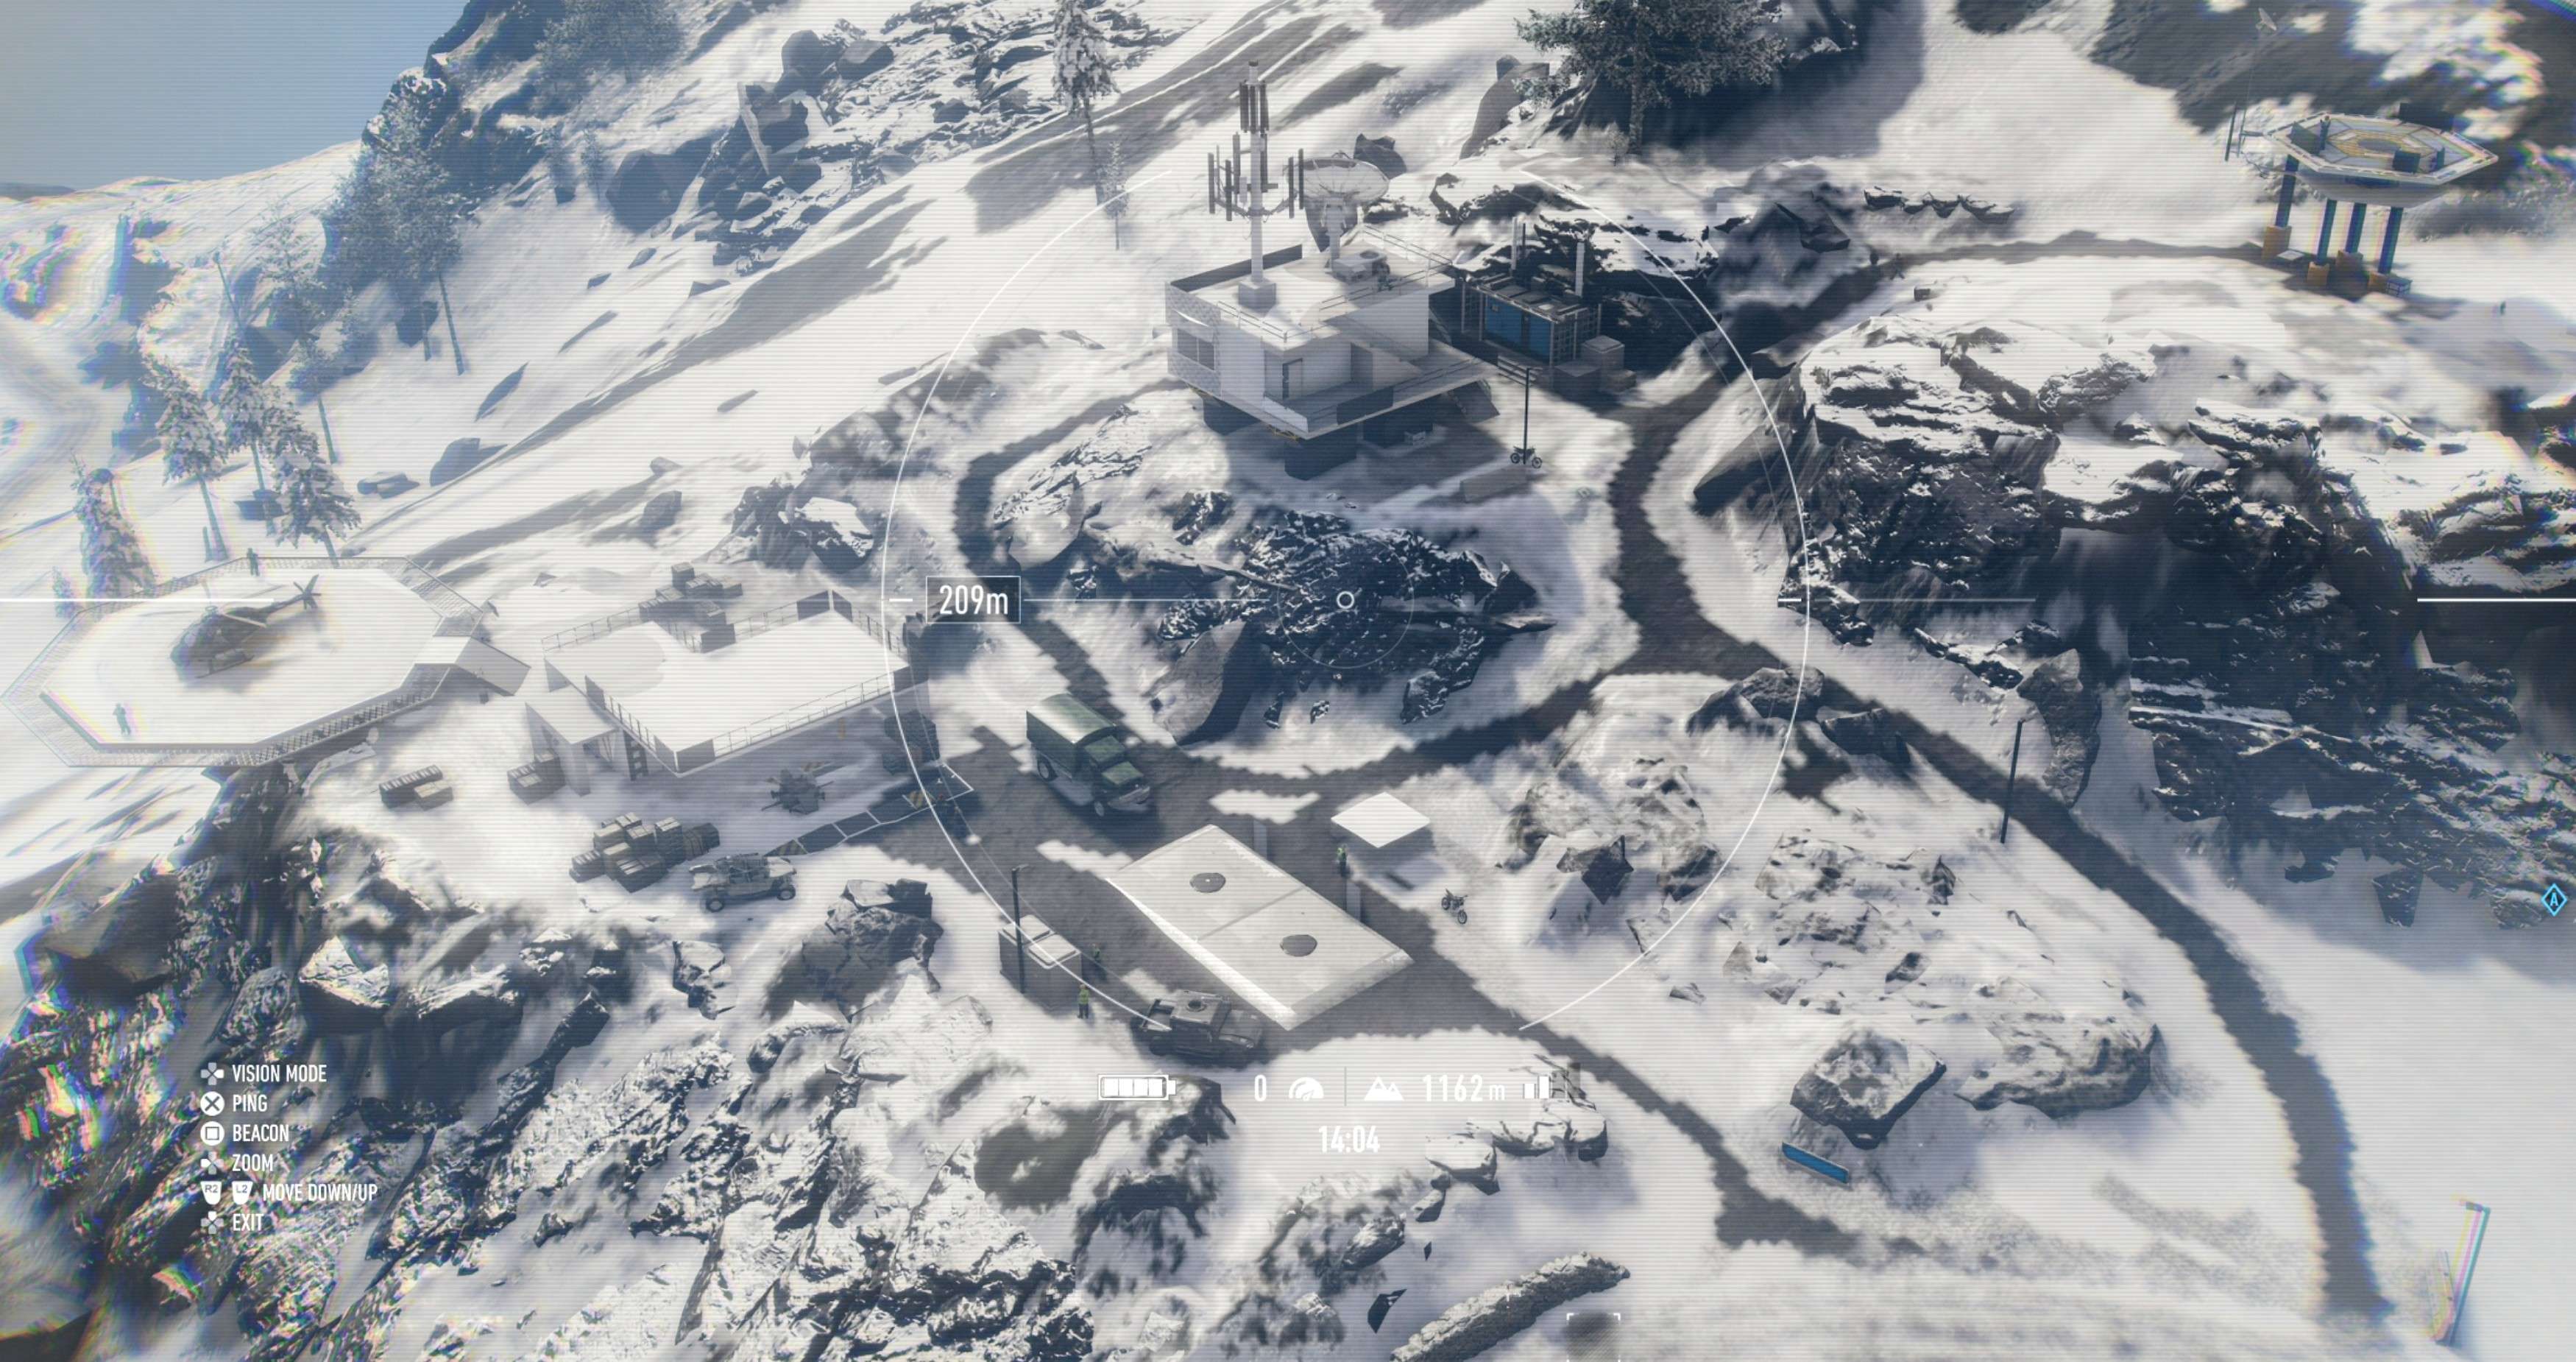
Drone Station W041
Clear the station, steal the truck on site, and form the convoy that will carry recovered supplies onward to the mine and final handoff point.
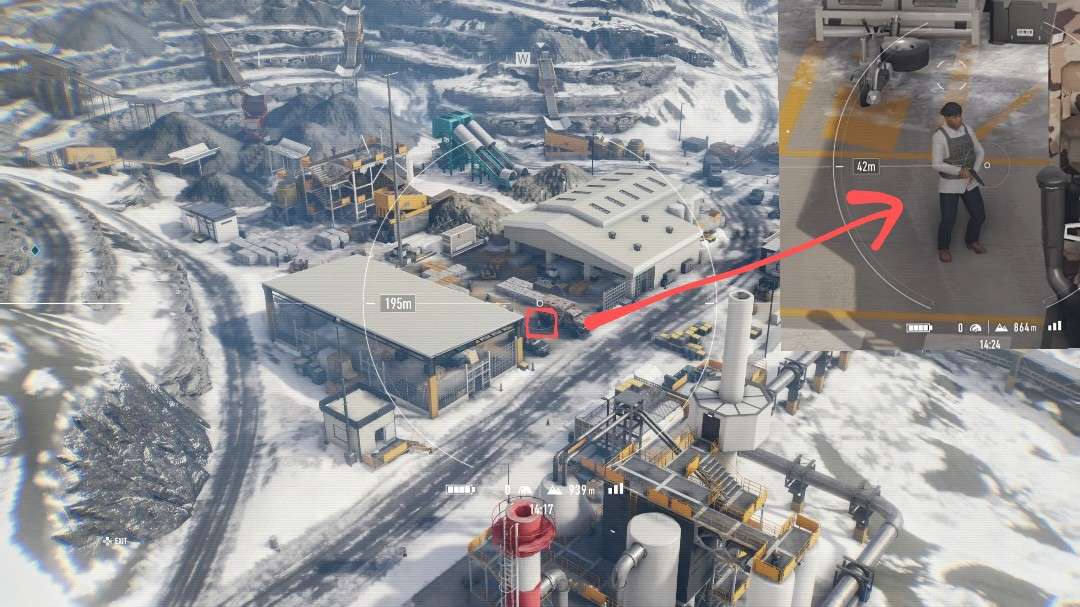
Silent Valley Mine
Capture the secondary HVT, the bagman, alive before he leaves the area and load any additional supplies found on site onto the truck for onward movement.
Site Tango Niner and Extract
Drop the supply truck at Site TANGO NINER, radio JAGUAR for pickup, then call for extraction and return to base with the bagman for interrogation.
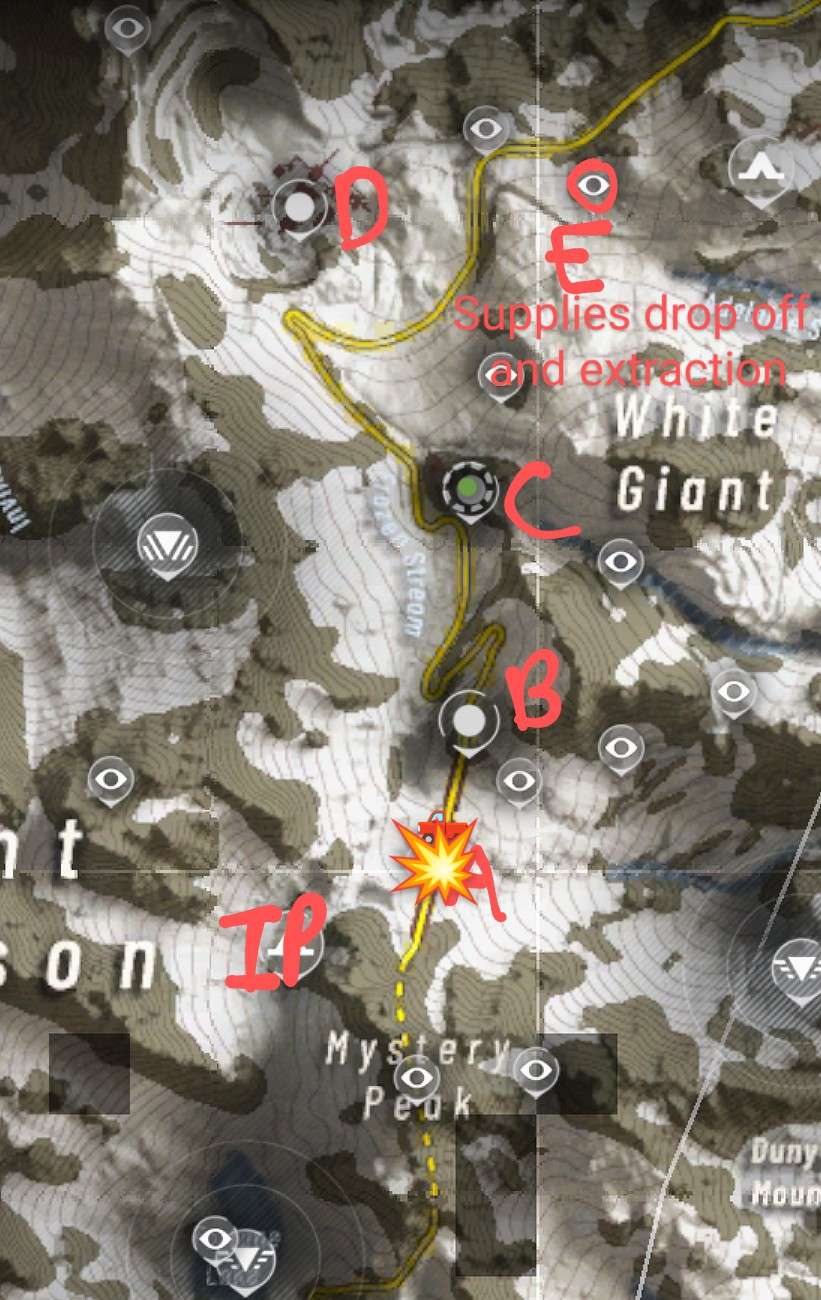
Tacmap
Mount Hodgson area route showing the bridge ambush site, Checkpoint Tiger Echo, Drone Station W041, Silent Valley Mine, and the final truck handoff at Site TANGO NINER before extraction.