Operation Paramount
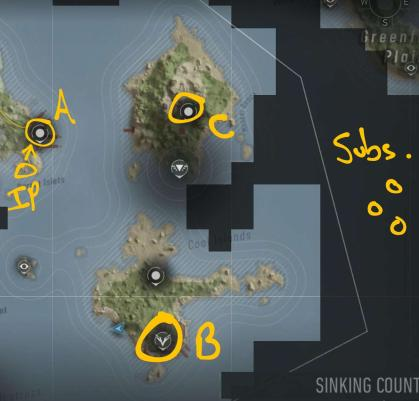
Deploy from Erewhon at sundown, push from the IP near Howard Port through Howard Port, Camp Tiger, and Bunker Edgehod North, confirm the SEDNA SLBM package, seize submarine control, call MEDUSA for recovery, and RTB.
Situation
Sentinel is staging SLBMs for the SEDNA submarine program. The boats were previously observed in the Bering Sea and are now east of Coal Islands. Intelligence points to Bunker Edgehod North as the likely warhead site, but jammers across the island chain are denying ISR confirmation.
Execution
Follow the evidence chain and dismantle the launch package. Exploit Howard Port for transit proof, eavesdrop on the Camp Tiger bunker meeting before clearing the island, then secure Bunker Edgehod North, verify SLBMs, and use the control module to turn the submarines over to MEDUSA.
Alpha Lead
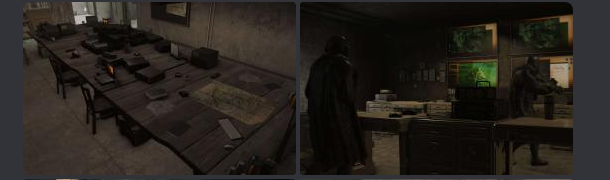
Shipping manifests or interrogation. Howard Port should provide proof that the sensitive shipment was pushed to Bunker Edgehod North.
Bravo Lead
Emergency bunker meeting. Camp Tiger personnel are expected to discuss targeting Fort Bragg, the White House, and the Pentagon, and confirm missile storage at Edgehod North.
AO Hazards
SAM sites and MURMUR patrols active. All targets of opportunity are greenlit only if they do not compromise the primary trail or submarine handoff.
Howard Port
Locate transit intelligence confirming the SLBM shipment moved through the port.
Camp Tiger
Eavesdrop on the underground meeting undetected, confirm intent, then retake the island.
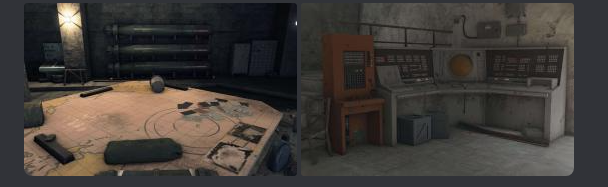
Bunker Edgehod North
Confirm the SLBM package, secure the site, assume submarine control, radio MEDUSA, and exfil.